How to Use Photopea
Are you trying to find a way to edit photos without having to pay for anything? Photopea is great for beginners and professionals. It does not require downloads as it is an online photo editor and serves as a free substitute for photoshop. It can retouch images, design graphics, and even work with layers.
For individuals who are new to Photopea, we have decided to provide a guide that covers the necessary steps from setting up your project to mastering the essential tools.
What is Photopea?
Photopea is an online graphic design program that lacks similar alternatives in Adobe Photoshop and is loved by people that require an efficient tool while being pocket friendly. It can be accessed from any browser, doesn’t need installation, and even supports PSD, PNG, JPG, SVG files and many more.
Whether it is about creating graphic designs for social media, editing images, or even preparing a mock-up design, Photopea has got it all covered.
Why Use Photopea?
With that said, we will be diving into the given step by step tutorial. To kick things off, here’s a reason on why it sets Photopea aside from the competition:
• Availability: As long as you have a device and a working browser, you are good to go.
Cost-effective: You don’t have to pay anything for its basic version or spend a little for an ad-free version.
User friendly: Users of Photoshop would find it easy to navigate.
Complex features: In comparison to other high-end programs, Photopea has a lot of features, such as advanced layer control and detailed selection tools.
Step 1: Launching Photopea
Photopea is accessible via www.photopea.com. There are no downloads or installations needed, nor is there a complicated signup process!
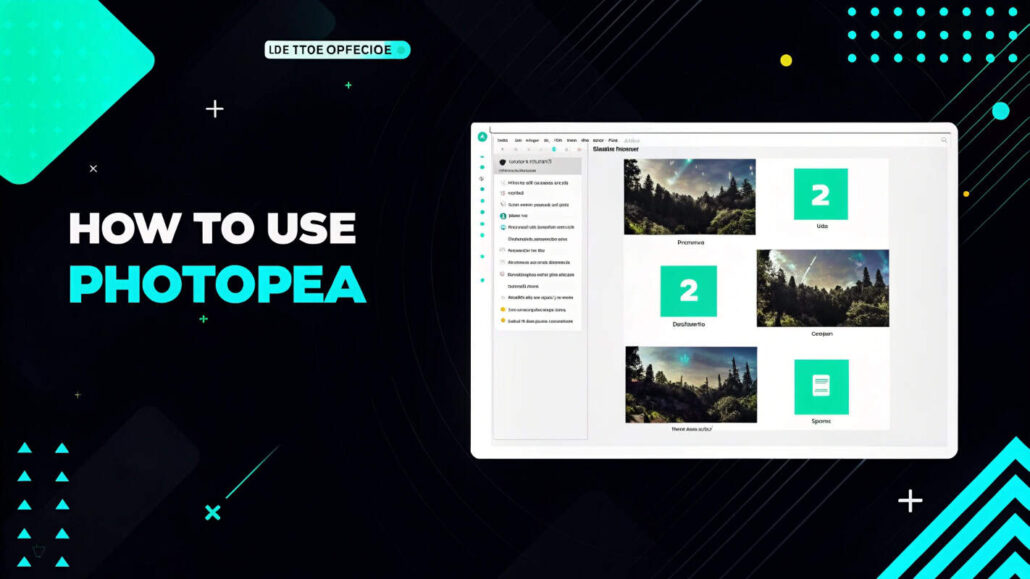
This interface is akin to Photoshop which makes it easy for people who have prior experience with Adobe products.
Step 2: Creating Your First Project
To get started, do the following steps after launching Photopea:
- Start New Project:
• File is on the top bar, click it and “New” should be visible. Select.
Choose a canvas size from the social media dimensions or set custom dimensions by filling width, height and resolution.
Press “Create” and the blank canvas will be generated.
Open Existing File:
Use “File” > “Open” to upload an image from your PC.
Also, a file can be dragged and dropped into the workspace.
Whether you’re working with PSDs, PNGs or even RAW photos, Photopea accepts multiple formats so you’re ready to roll.
Step 3: Navigating the Interface
With Photopea’s key sections outlined below, you can start to familiarize yourself with them.
- Toolbar (Left Sidebar):
• Brush, Eraser, Text, Crop and all manner of selection tools are found here.
• Any tool’s name and its shortcut key will be displayed when you hover over it.
Layers Panel (Right Sidebar):
• Photopea employs a layer-centric approach, meaning each component of your design is placed on a separate layer. You can rearrange, group layers, or hide layers, or even ensemble layers to have more control.
- Top Menu Bar:
• All essential options like File, Edit, Image, Layer, as well as settings, filters, and adjustments are available here.
Step 4: Editing Basics
You are ready to edit.
Crop Image:
• Crop tool can be selected from the left toolbar or you can simply press “C” on your keyboard.
• C crop box has corners and edges you can drag. Double click to confirm.
Modifying Brightness and Contrast:
- Look for the top menu and select “Image” followed by “Adjustments” then click on “Brightness/Contrast.”
- Adjust via the slider, confirm by pressing “OK.”
Insert Text:
- Click on the Text tool from the toolbar (shortcut key “T”).
- Click on the canvas and enter your text.
- Change size, color, and font in the top properties bar or right Sidebar under “Character.”
Filters:
- For effects like Blurs, Noise, or Sharpening, go to the top menu and click on “Filter.”
- Use filters to change the image in any way you wish.
Step 5: Layers
Mastering Photopea requires a good understanding of layers.
- Adding a New Layer:
- Use the top menu “Layer” > “New Layer” or use keyboard shortcut Ctrl+Shift+N.
- Changing Layer Settings:
- Blending Modes:
- Found above the Layers panel, blending modes (like Multiply, Overlay, or Screen) let you use creative effects with layers.
Step 6: How to Export Your Work
When your file is edited to perfection:
- Save as PSD:
• If you wish to edit the file at a later time, click on “File” and “Save as PSD” to store it as PSD.
- Export as an image:
• In case you wish to export the file, click on “File” then go to “Export As” to select JPG, PNG, or SVG.
• Click “Save” after adjusting the quality settings.
Your project is completed and can be printed or shared easily.
Best Practices for Photopea
• Command Shortcuts Enhances Efficiency:
• Like most applications, Photopea also has keyboard shortcuts. Workflow can be enhanced by pressing “B” for the Brush tool or “M” for the Marquee tool.
Use the History panel:
Photopea allows users to undo and redo actions with the use of history panel located on the right side of the screen.
Templates:
Users can access various free templates from the “New Project” screen to create a good design in no time.
What makes Photopea Ideal for Novices
Users can now take advantage of the features of Photopea without spending any money because it has a simple interface. Investments of time and money are not needed because its internet-based model permits users to edit at their convenience.
Enhance Your Photopea Skills
Congratulations on embarking on your Photopea journey. With consistent practice, you will become proficient in Photopea, from retouching pictures to creating amazing visuals.
If you seek to improve at a faster pace, feel free to browse countless online courses or YouTube tutorials. Make sure you constantly experiment. Improving takes time and practice, but every step is a step forward!
Enjoy editing your photos!
Related posts:
 Photopea Review: The Best Free Online Photo Editor?
 Pixlr Review 2026- Is It Really Worth $1.99/mo?
 7 Best Descript Alternatives in 2026 for Audio & Video Editing
 Canva vs Design Pickle: Which is Better for Your Design Needs?
 Canva vs PhotoRoom: Best Tool for Social Media Creators?
 Canva vs VSCO: Which App Is Best for Creators in 2026?
 How to Use PhotoRoom: A Complete Beginner’s Guide
 Canva vs Remini: Which App Is Best for Visual Content in 2026?